How To: Install Android Q Beta on Your Essential Phone
Like last year's beta release of Android Pie, Google has allowed the Android Q Developer Previews to support some non-Pixel devices. Announced at Google I/O 2019, there are 15 non-Pixel smartphones eligible for the Android 10 Beta, including 2017's Essential PH-1.With a few steps, you can enjoy the latest version of Android once again on your Essential Phone before it officially unveils in late-summer, early-fall. It comes as no surprise that Google includes Essential in the Android Q Beta. Not only is Essential run by Android co-founder Audy Rubin, but Essential Phone is one of the few devices to run stock Android.While Essential does include instructions on its website for installing the Android Q Beta, I ran into some issues, and there's a good chance you will too. Therefore, after some trial and error, I've laid out the three easiest ways to install the beta below, including the over-the-air update, manually without a custom recovery, and manually with a custom recovery.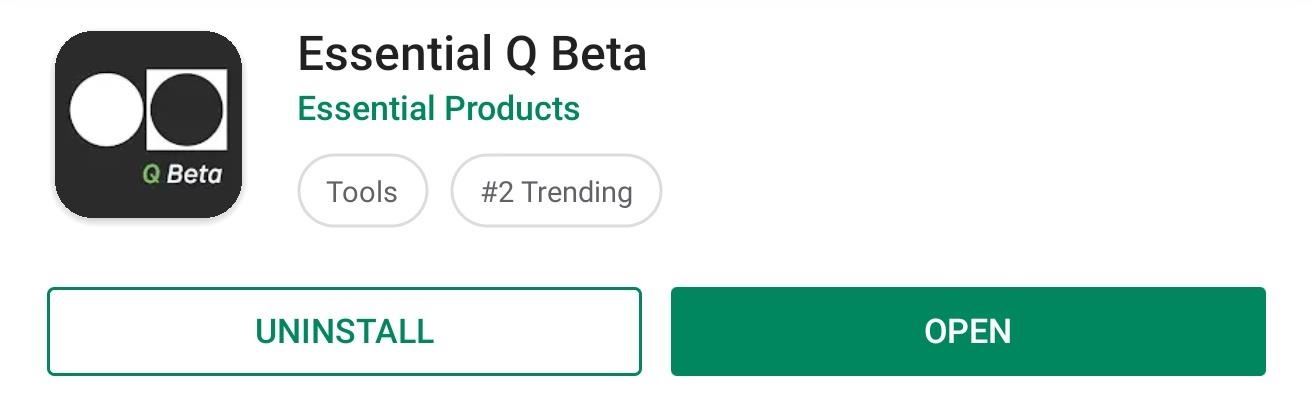
Option 1: Over-the-Air (OTA)By far, the easiest method to get Android Q Beta on your Essential Phone is with the OTA update, which lets you install Android Q the same way you would any official software update pushed out by Essential. However, before you check "About Phone," you need to sign up for the beta first.It's a requirement to give access to only those that know it's unstable software and that data will be collected to uncover bugs and other issues that will help with the continued development of the stable release. To sign up, simply install the Essential Q Beta app from the Play Store.Play Store Link: Essential Q Beta (free) Once installed, open the app and select "Enable Phone Access" so that it can retrieve your device's serial number. Then, input the requested information, which includes your email address and first and last name. Once filled in, select the button at the bottom. The next page will state that once your information is confirmed, you will receive the update over the air. With a little bit of patience, you will get a notification for a new software update which you can select to download and install Android Q Beta on your Essential.
Option 2: Without a Custom RecoveryWith a custom recovery, this process is super easy to get Android Q Beta installed manually, nearly identical to updating a rooted phone with the latest security patch. However, since a lot of you are probably not running modified software, we'll first show the manual process if you're running unmodified software on Essential PH-1.
Step 1: Download ADB & Fastboot on Your PCTo install the Essential Q Beta manually, you'll need to use ADB commands. ADB commands are commands you send from a computer to your Android phone to perform tasks not available within the software. You'll also need Fastboot.While there are multiple ways to add these programs to your computer, we believe the best method is to install Google's official SDK Platform Tools. This method has proven to be the most reliable across different computers and devices.Instructions: How to Install ADB & Fastboot on Mac, Linux & Windows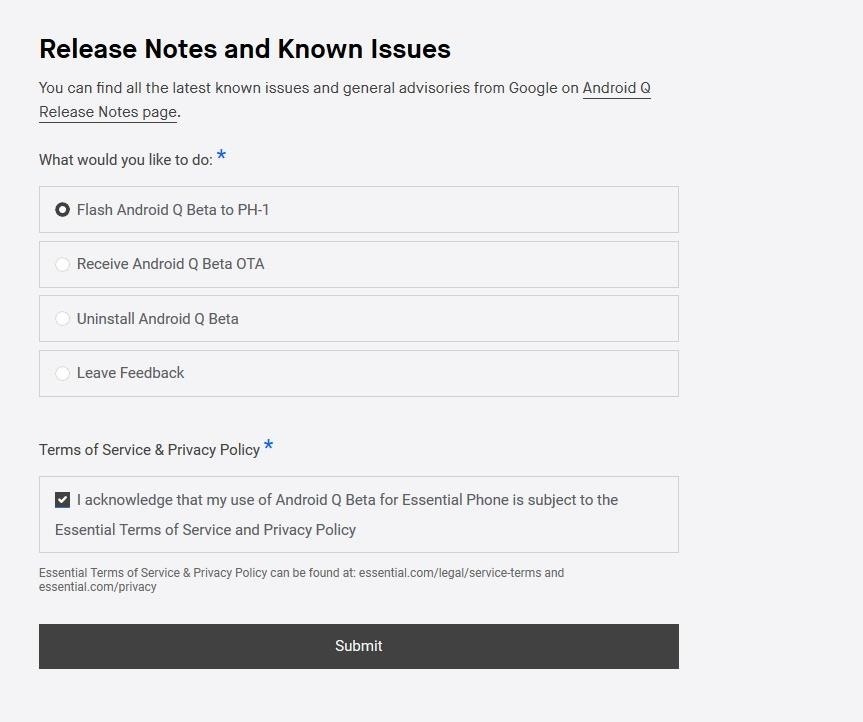
Step 2: Download the OTA FileOn your computer, visit Essential's Android Q Beta Program webpage. At the bottom of the page, you'll be presented with four options. Choose "Flash Android Q Beta to PH-1," and check the checkbox below acknowledging its usage. Select "Submit" to bring up a new page with links to for the files.Link: Essential's Android Q Beta Program On the next page, choose the version labeled "Download (OTA)." Once downloaded, move the ZIP file to the platform-tools folder inside of your ADB installation directory. For Windows users, you'll find this folder here: C:\Program Files (x86)\Android\android-sdk\platform-tools However, if you decided to use the minimal ADB installer, the folder will be in a different location. If you're unsure of the folder's location, or if you're on a Mac or Linux machine, use your computer's search function to find the platform-tools_ folder.After you've copied the ZIP file into the platform-tools folder, keep the window open, as you will need it for the next step.
Step 3: Open a Command Prompt or Terminal WindowOpen a Command Prompt or Terminal window. For Windows, press the Windows button on your keyboard, type in "cmd," and hit Enter. On a Mac or Linux computer, open it up from the folder with all your applications or via another way, such as Spotlight on a Mac or a shortcut in the dock.In the Command Prompt or Terminal window, input the following code, replacing "location" with the location of your platform-tools folder. On a Windows machine, you can copy the location from the address bar at the top of the File Manager window. Otherwise, on Windows, Mac, and Linux, you can just drag and drop the folder into the terminal after cd with a space after it. cd location The cd command will redirect the command prompt or terminal to that directory, allowing you to access its files. Only with this redirect can you start to use ADB and fastboot commands. No matter which operating system you are using, leave the Command Prompt or Terminal open, as you will need it for most of the steps below.
Step 4: Unlock the BootloaderThe next step is to unlock the bootloader of the Essential PH-1. We've already laid out this process in our guide on unlocking the Essential Phone's bootloader, so make sure to check that out. We include a lot of details, breaking down each step to avoid any issues. Also, be aware that this process will reset your phone, so make sure you back up all your data.Instructions: How to Unlock the Bootloader on the Essential PH-1 Starting with Android 9.0, your backup files are protected by the lock screen passcode. Therefore, make sure you can remember your old passcode, in case you switch it after restoring your phone.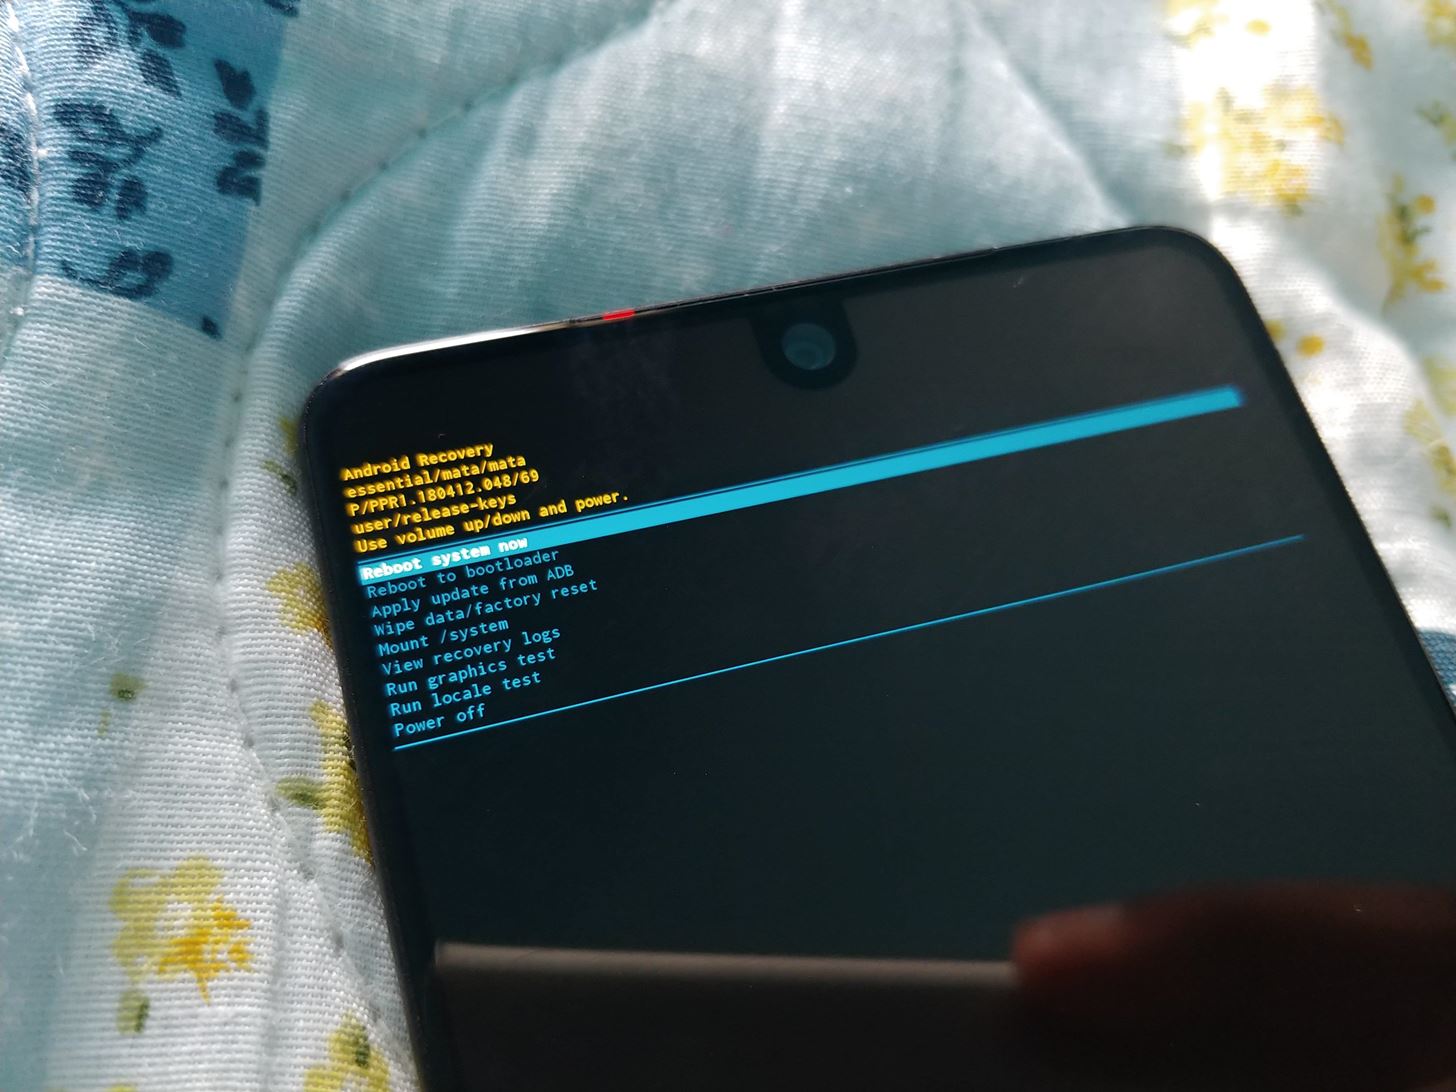
Step 5: Install the Android Q BetaOnce your phone reboots and brings you to the initial start screen, verify that ADB commands can still be sent by inputting the following command into Command Prompt on Windows. adb reboot recovery For Mac and Linux users, you 'll need to put ./ before the command. Therefore, it will look like this instead: ./adb reboot recovery You'll be presented with a new screen on the phone with Android's mascot lying down. Hold the Power button and tap Volume Up to see the recovery menu options. Using the Volume buttons to navigate, highlight "Apply update from ADB," and confirm by pressing the Power button. Image by Jon Knight/Gadget Hacks Two lines of text will appear confirming your device is ready to accept sideloaded firmware. Back on your computer, type the following in a Command Prompt and include a space at the end. Do not press enter yet. adb sideload On Mac and Linux, type the following into the Terminal, also including the space at the end. Do not press enter yet. ./adb sideload Drag-and-drop the OTA.zip file you downloaded in Step 2 into the Command Prompt or Terminal window. This will populate the full file name and location saving you time and potential issue for typing it wrong. Before pressing Enter, make sure the command looks like this for Windows: adb sideload filelocation OTA.zip Or like this for Mac and Linux: ./adb sideload filelocation OTA.zip A percentage number will show up in the Command Prompt or Terminal window. Once it reaches 100 percent, restart your phone and your phone will reboot with Android 10 Beta installed.
Option 3: With a Custom RecoveryThere is another way to update to Android Q Beta which is much easier than Method 2 above. However, it does require you to have a custom recovery. A custom recovery is modified recovery which gives you extra functionality over your Essential PH-1. Tools such as TWRP let you back up your phone entirely (not just the apps and app data), root your phone with tools such as Magisk, run custom ROMs, and sideload OTA updates.If you haven't already, you should consider installing TWRP. It will make future Android Q Beta updates easier to install and will let you make full copies of your phone to return to if something goes wrong. We have a detailed guide on adding TWRP to your Essential Phone, so make sure to check that out.Instructions: How To Install TWRP Recovery on the Essential PH-1
Step 1: Download the OTA FileWith that out of the way, you'll need to visit Essential's Android Q Beta Program webpage on your computer. At the bottom of the page, you'll be presented with four options. Choose "Flash Android Q Beta to PH-1," and check the checkbox below acknowledging its usage. Select "Submit" to bring up a new page with links to for the files.Link: Essential's Android Q Beta Program On the next page, choose the version labeled "Download (OTA)."
Step 2: Download the TWRP FileSince installing Android Q Beta will wipe the device, you'll also lose the TWRP you already have. So, I recommend downloading the TWRP zip file as well. You need this file to keep your custom recovery after flashing the update. If you don't want a custom recovery anymore, by all means, skip this.Download the TWRP ZIP file from TWRP
Step 3: Transfer the OTA & TWRP FilesOnce the files are downloaded, use a USB cable to connect your phone to your computer. Remember, the included cable with the Essential Phone is USB Type-C on both ends, so if your computer doesn't have USB-C input, you'll need to get a USB-C to USB-A cable.Now, transfer the OTA file and the TWRP file to the "Downloads" folder on the Essential Phone. If you need help on this part, let me know in the comments. It's pretty easy on Windows. On a Mac, you'll need the Android File Transfer tool.If you run to any trouble, you can also visit the links in Step 1 and Step 2 directly on your Essential PH-1 to download the files without the need of a computer.
Step 4: Boot into Your Custom RecoveryHold the Power button until the power menu appears, then choose "Reboot." When you select "Reboot," hold down the Volume Down button on the side of the phone. After a few seconds, your phone will reboot to the bootloader menu. Using the Volume buttons to navigate, move to "Recovery mode," and press the Power button to confirm. Your phone will then restart again, this time into TWRP. Input your passcode to access TWRP.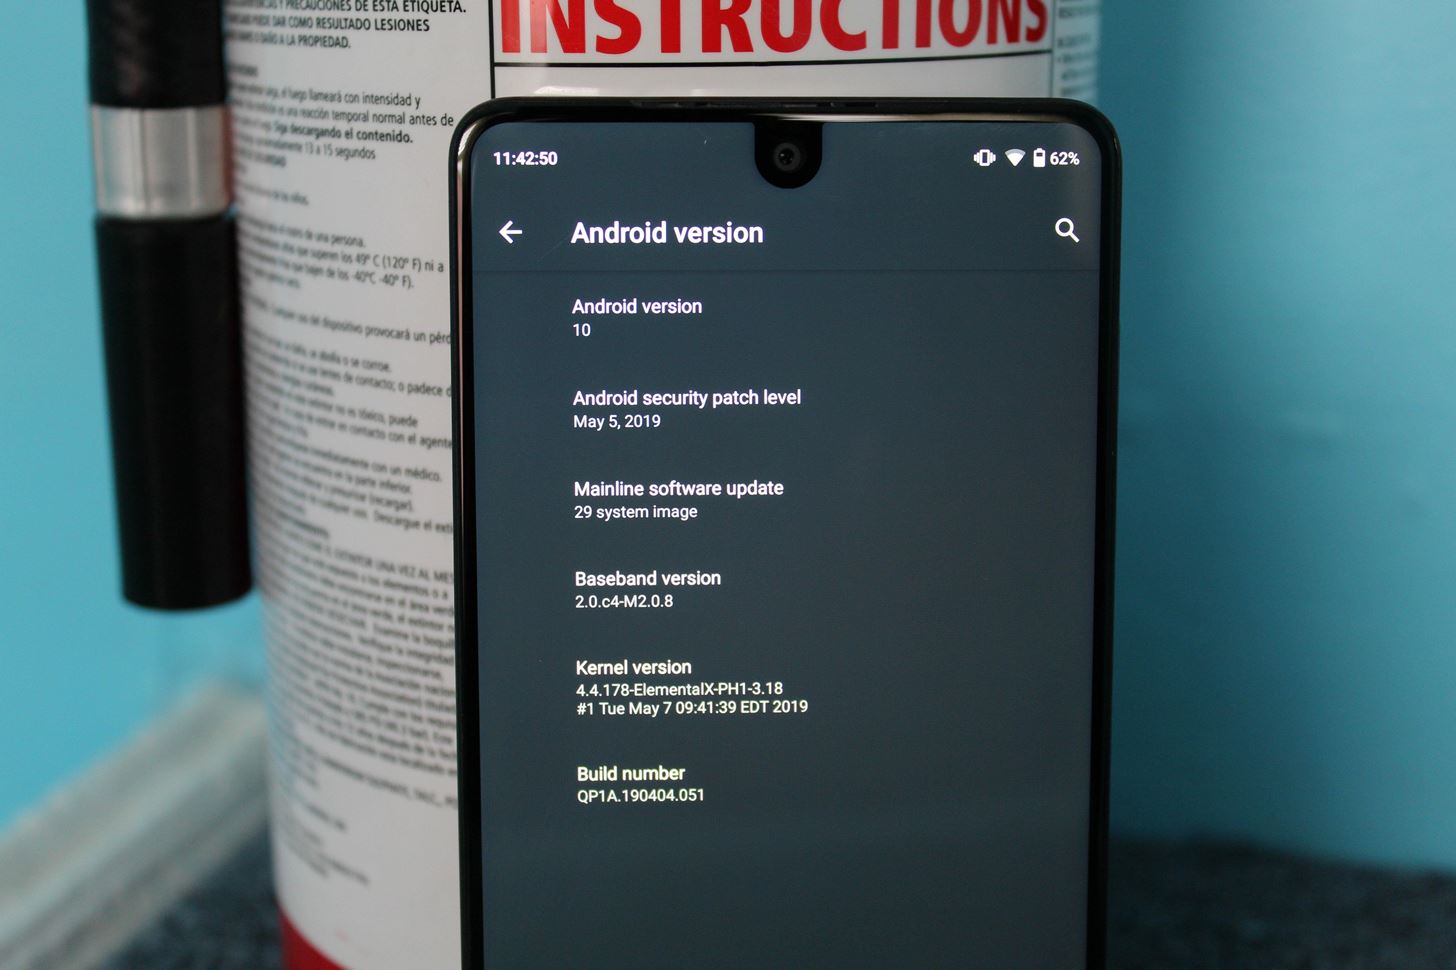
Step 5: Install the OTA FileFrom the TWRP menu, choose "Install." Find the OTA.zip file you place in the "Downloads" folder. Choose the file and swipe right on the bottom slider to install the ZIP file. Next, select the back button to return to the previous screen, then choose the TWRP installer ZIP file. Swipe right on the bottom slider to install this as well.Once both are installed, choose "Reboot System." Your phone will reboot, only this time, it will jump right into your newly installed Android Q system. Image by Jon Knight/Gadget Hacks From my testing, I found the latest Elemental X kernel works with Android Q. I also found that Magisk also works, meaning you don't have to give up root access as well. For how to add the custom kernel from Elemental X or Magisk, check out those links.Don't Miss: All the Cool New Features & Changes in Android Q 10Follow Gadget Hacks on Pinterest, Reddit, Twitter, YouTube, and Flipboard Sign up for Gadget Hacks' daily newsletter or weekly Android and iOS updates Follow WonderHowTo on Facebook, Twitter, Pinterest, and Flipboard
Cover image and screenshots by Jon Knight/Gadget Hacks
How to activate tethering on any iPhone without jailbreaking
How To: Use the YouTube Editing Tool to Create a Long Video from Short Ones How To: Use iMovie to edit videos on the iPhone How To: Still Using Notes? Here Are 3 Better Word Processing Apps for Writing on Your iPhone How To: Create Amazing Tiny Planet Photos with Your iPhone
Writing Tools You'll Like Far Better Than Microsoft Word
Forum Thread: How to Completely Uninstall Internet Explorer 11 from Windows 7 0 Replies 4 yrs ago How To: Bring Back Confirmation Prompts When Uninstalling Apps in Windows 10 How To: Stop the New Java 7 Exploit from Installing Malware on Your Mac or PC How To: Remove the Yahoo! Toolbar from Internet Explorer
How to Uninstall Windows 10 Apps Using the Command Prompt
Apple has not included configuration profiles for the developer beta yet, and many developers are having issues installing iOS 13 even with macOS 10.15 Catalina installed. Plus, since this is the first beta, there are a lot of problems with old and new features to work the kinks out of.
Apple Releases Fifth Developer Beta of iOS 12.2 [Update
News: The Pixel 3 Still Has a Circular Polarizer How To: Create a Walking Dead Like Post-Apocalyptic World Using Time-Lapse Footage News: Google's Pixel Phone Is Taking All the Fun Out of Android, and That's the Point News: Your Google Pixel Will Become a Zombie Phone in 2019
When and How to Use a Polarizing Filter - petapixel.com
The Galaxy S9 is now available worldwide. We ran through several Android P features already on the Galaxy S9 and even took a look at a few hidden things you might not know about. While you're likely loving your new phone, there are a few concerns with any new device. One possible issue is the new
Disable and Hide Application Notifications on Samsung Galaxy
How To: The Easiest Way to Back Up, Restore, & Sync Files Between Your Computer & HTC One How To: Easily Transfer Everything from Android to iPhone How To: Access Files, Manage Apps, & Get Remote Camera Access to Your HTC One Wirelessly from Your Computer
Victor Lopez's Profile « Wonder How To
It was not long ago that we filled you in on the steps to take in order to jailbreak your iPhone 3G on Mac OS X as well as a Windows PC. Well today TiPb is proud to present a step by step guide to not only jailbreak your first generation iPhone 2G but to unlock it while jailbreaking. This is for Windows PC's only.
iFixit: iPod nano 5th Generation Disassembly - YouTube
Have you noticed that your Windows® XP-based computer is running slow? It can be because the memory space and that of the hard disk's are occupied with a lot of data. Such data can be not of much
How to Delete Cookies from Your Browser - Gadget Hacks
United States President Barack Obama will today sign a bill that makes cell phone unlocking legal again, writing the Unlocking Consumer Choice and Wireless Competition Act into law following its
President signs cell phone unlocking bill into law - CNET
To help save battery power, you can choose a lower screen timeout setting on your Samsung Galaxy S4. How to turn off the screen lock on my Samsung Galaxy S III;
Turn On Your Android's Flashlight Using the Power Button
OnePlus 5T launched at Rs 32,999, comes with Face Unlock feature; available in India from Nov 21 on Amazon OnePlus 5T can be purchased in 64GB and 128GB storage options at a price of Rs 32,999 and
6-inch bezel-less OnePlus 5T Goes Official - Gizchina.com
These are the new Emoji in the Android Nougat 7.1 update Google has taken the time to really craft better emojis, including a much larger variety of professions, genders, and skin tones to support
How to turn off emoticons in Skype for Windows 10
If you're entirely new to smartphones, Android's share menu can seem like a foreign concept at first glance. In reality, it's one of Android's most central and unique features, and with a little experience, it can make your smartphone a lot easier to use. Android allows all apps to share data with
How to navigate the new settings menu in Android Nougat
0 comments:
Post a Comment